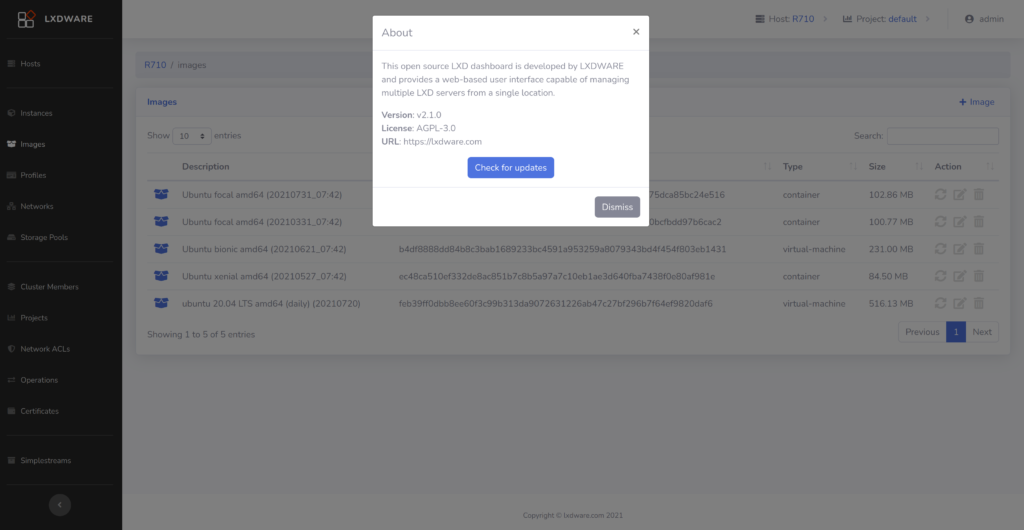
This how-to guide will take you through the installation steps to download and setup the LXD dashboard on Ubuntu 22.04. This guide will use Ubuntu through an LXD container, but can be also installed through a traditional installation.
Assuming that your system already has LXD installed and configured, start by launching a new instance using the Ubuntu 22.04 image. To launch the new instance and name it lxd-dashboard use the following command:
lxc launch images:ubuntu/22.04 lxd-dashboard
This will create a base container to use to install the LXD dashboard. Once the command finishes the container should be running. Now it is time to connect into the container and setup the software. Use the following command to obtain a bash shell connection to the instance, use the exit command at anytime to leave the shell:
lxc exec lxd-dashboard /bin/bash
The following commands will now be run inside the lxd-dashboard container. Verify that the terminal prompt reads root@lxd-dashboard:~# before installing any software. The LXD dashboard uses Nginx and PHP for the webserver platform and SQLite as a database. To install these packages use the following command:
apt update && apt install wget nginx php-fpm php-curl sqlite3 php-sqlite3 -y
Using wget, the source code for the LXD dashboard can be downloaded from the GitHub repository. For this guide the v3.7.0 release will be used. Check for newer versions on the GitHub page and replace the version number with the latest. If your container is having trouble reaching out to the internet, see https://discuss.linuxcontainers.org/t/containers-do-not-have-outgoing-internet-access/10844/4. To download and extract the source code use the following two commands:
wget https://github.com/lxdware/lxd-dashboard/archive/v3.7.0.tar.gz
tar -xzf v3.7.0.tar.gz
A few web server files will need to moved into place for the web pages as well as the NGINX configuration. To copy these files use the following commands, making sure to change the version number to what was downloaded:
cp -a lxd-dashboard-3.7.0/default /etc/nginx/sites-available/
cp -a lxd-dashboard-3.7.0/lxd-dashboard /var/www/html/
The default site configuration file (/etc/nginx/sites-enabled/default) in Nginx has now been replaced. In Ubuntu this file should be linked from the sites-available directory. The version of php-fpm changes over time and the file path listed in the default configuration will need to be updated for your environment. Ubuntu 20.04 used version 7.4, but Ubuntu 22.04 now uses version 8.1. Edit the file using a text editor (nano, vi, etc) and comment out the path to version 7.4 and uncomment the path for version 8.1.
server {
	listen 80 default_server;
	listen [::]:80 default_server;
	root /var/www/html/lxd-dashboard;
	index index.php index.html;
	server_name _;

	location / {
		try_files $uri $uri/ =404;
	}

	location ~ \.php$ {
        #include snippets/fastcgi-php.conf;
        #fastcgi_pass unix:/var/run/php/php7.4-fpm.sock;
	#fastcgi_pass unix:/run/php/php7.4-fpm.sock;
	fastcgi_pass unix:/run/php/php8.1-fpm.sock;
    	fastcgi_param SCRIPT_FILENAME $document_root$fastcgi_script_name;
    	include fastcgi_params;
    	include snippets/fastcgi-php.conf;
     }
}
There are three main directories that LXDWARE uses to store persistent information for the application. You will need to create these directories and then assign appropriate ownership to the web server. To create the directories use the following commands:
mkdir -p /var/lxdware/data/sqlite
mkdir -p /var/lxdware/data/lxd
mkdir -p /var/lxdware/backups
The /var/www/html/lxd-dashboard/ directory, the /var/lxdware/ directory, and the contents within them all need to be owned by the web server user. To set the proper permissions run the following commands:
chown -R www-data:www-data /var/lxdware/
chown -R www-data:www-data /var/www/html
The NGINX web server will need to be restarted to apply the web server configuration changes made above. To restart the web server run the following command:
systemctl restart nginx
Congratulations! The LXD dashboard is now setup and ready to use. Exit from the bash terminal and return to your LXD host server by using the command:
exit
Open a web browser and access the LXD dashboard by entering in the IP address of the instance. Use the lxc list command to view a list of the containers and their IP addresses on your LXD server.
Optional Port Forward Configuration for LXD containers
Port forwarding can be used to make the lxd-dashboard instance accessible to others computers outside of the server. The lxd-dashboard listens on port 80 for web traffic. In this how-to guide the host’s port 80 will be forwarded to the instance’s port 80. For more information on port forwarding view the how-to guide Forwarding host ports to LXD instances.
To create a new profile named proxy-port-80 use the following command:
lxc profile create proxy-port-80
To configure the profile to forward the port 80 from the host server to port 80 on the instance, use the following command:
lxc profile device add proxy-port-80 hostport80 proxy connect="tcp:127.0.0.1:8080" listen="tcp:0.0.0.0:80"
To apply the newly created profile to the lxd-dashboard instance and begin forwarding port 80 traffic to your instance run the following command:
lxc profile add lxd-dashboard proxy-port-80
Open a web browser and access the LXD dashboard by entering in the IP address of the host server.

