Posted on 2 Comments

Version 2.0.0 Released – Adding Multi-user, RBAC, Terminal, and more

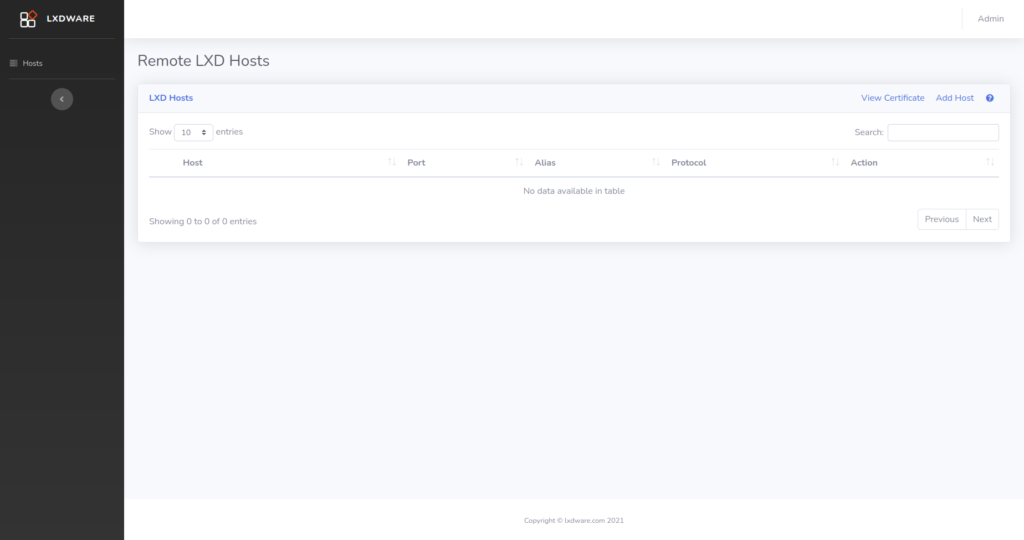
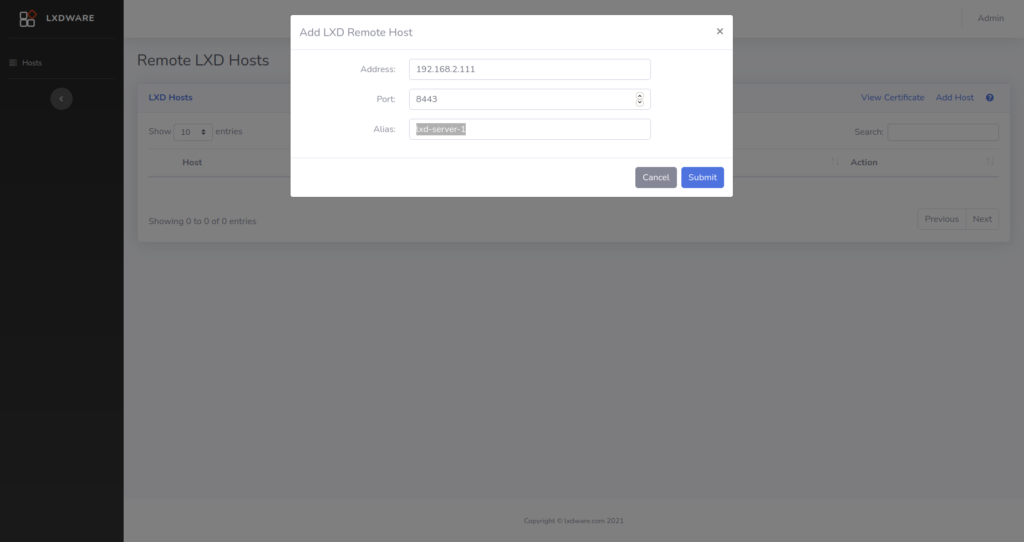
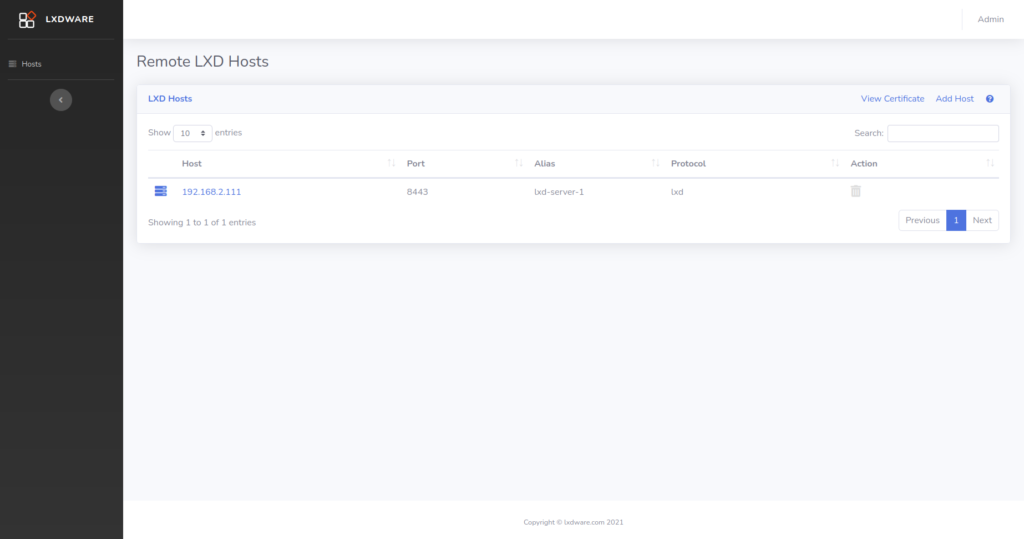
LXDWARE is excited to announce the 2.0.0 release of the LXD dashboard. This new release adds a lot of changes to the underlying code and improvements to the user experience. The LXD dashboard can now be deployed centrally within a network and allows multiple users to connect and manage LXD infrastructure through a single interface.

When deploying a new installation or upgrading from version 1.2.8, a registration page will first be presented to configure the default admin account. Database tables will automatically be converted to support new features when upgrading from version 1.2.8. The installation process has become much simpler, removing the need for most of the configuration. Some dependency packages have been replaced and installation guides have been updated for this release at https://lxdware.com/installation/

User accounts

Past versions of the dashboard used http basic authentication for password protecting the dashboard. This method worked great for a single-user application, but this new release now supports multiple user accounts. The authentication method now stores user accounts in a database and utilizes PHP Session variables. User account password hashes are no longer generated using the Apache htpasswd application, as hashes are now stored using the secure bcrypt hashing algorithm.

RBAC

The LXD dashboard now also supports the use of groups and role-based access control (RBAC). There are 4 default roles that can be assigned to user groups: ADMIN, OPERATOR, USER, and AUDITOR. The ADMIN role gives access to all controls with the system. The OPERATOR roles give access to all controls used to make changes to LXD servers. The USER role gives access to controls used in basic lifecycle commands of an instance. The AUDITOR role acts as a guest or read-only account giving access to controls that only display LXD resources.

Console Terminal

The Exec option has been replaced with a more robust console terminal. Using xterm.js and web sockets, users can connect to the console of both container and virtual machine instances. This new console emulates the feel of being directly connected to the instance. To login to instances, a user account and password will need to be configured in the virtual instances.

Network ACLs

Network ACLs are now a part of the LXD dashboard. Users can create new access control lists (ACLs) as well as modify their ingress and egress rules.
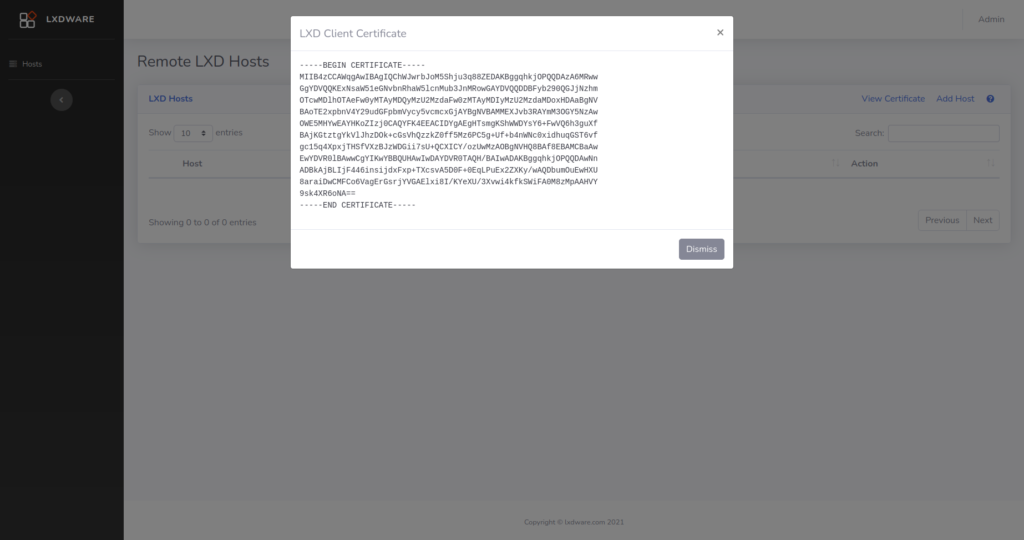
Certificates

Previous versions of the dashboard relied on using a compiled LXC binary for generating LXC certificates. Certificates are now created using the built-in OpenSSL libraries within PHP. This allows the application to create certificates as needed rather than relying on users first creating their own certificates when installing the dashboard. Also now through the dashboard interface, users can add additional trusted certificates to a remote LXD host.

Curl

Curl connections made to the REST API of remote LXD servers are now made using PHP’s curl implementation rather than using the installed curl application on the host operating system. Changes no longer have to be made to the /etc/sudoers file, helping to reduce configuration problems and improve security. Now all a user has to do is just install the php-curl package on dashboard host system.

Database

Tables are now created automatically from within the dashboard rather than having to manually create them before installation. Database connections now use PDO statements allowing for consistent SQL statements between additional database systems, which are planned for future releases of the application.

Local Web assets

The LXD dashboard uses Google fonts for the web pages. Changes have been made to now use these fonts locally within the application rather than pulling them down from the Internet. All web assets are included within the application allowing the dashboard to work flawlessly within secure isolated network environments.

Accounting

Support is now built into this release of the application to log all controlled events. This logging of events to the database is planned in a future release of the application.

Posted on 18 Comments

Installing the LXD dashboard in an LXC container – v2.x.x

This how-to guide will take you through the installation steps to run the LXD dashboard in an LXC container on your system. This guide will assume that your system already has LXD installed and configured.

Start by launching a new instance using the official Ubuntu 20.04 image. To launch the new instance and name it lxd-dashboard use the following command:

$ lxc launch ubuntu:20.04 lxd-dashboard

This will create a base container to use to install the LXD dashboard. Once the command finishes the container should be running. Now it is time to connect into the container and setup the software. Use the following command to obtain a bash shell connection to the instance, use the exit command at anytime to leave the shell:

$ lxc exec lxd-dashboard /bin/bash

The following commands will now be run inside the lxd-dashboard container. Verify that the terminal prompt reads root@lxd-dashboard:~# before installing any software. The LXD dashboard uses Nginx and PHP for the webserver platform and SQLite as a database. To install these packages use the following command:

$ apt update && apt install nginx php-fpm php-curl sqlite3 php-sqlite3 -y 

Using wget, the source code for the LXD dashboard can be downloaded from the GitHub repository. For this guide the v2.2.0 release will be used. Check for newer versions on the GitHub page and replace the version number with the latest. To download and extract the source code use the following two commands:

$ wget https://github.com/lxdware/lxd-dashboard/archive/v2.2.0.tar.gz
 $ tar -xzf v2.2.0.tar.gz

A few web server files will need to moved into place for the web pages as well as the NGINX configuration. To copy these files use the following commands, making sure to change the version number to what was downloaded:

$ cp -a lxd-dashboard-2.2.0/default /etc/nginx/sites-available/
 $ cp -a lxd-dashboard-2.2.0/lxd-dashboard /var/www/html/

There are three main directories that LXDWARE uses to store persistent information for the application. You will need to create these directories and then assign appropriate ownership to the web server. To create the directories use the following commands:

$ mkdir -p /var/lxdware/data/sqlite
 $ mkdir -p /var/lxdware/data/lxd
 $ mkdir -p /var/lxdware/backups

The /var/www/html/lxd-dashboard/ directory, the /var/lxdware/ directory, and the contents within them all need to be owned by the web server user. To set the proper permissions run the following commands:

$ chown -R www-data:www-data /var/lxdware/
 $ chown -R www-data:www-data /var/www/html

The NGINX web server will need to be restarted to apply the web server configuration changes made above. To restart the web server run the following command:

$ systemctl restart nginx

Congratulations! The container is now setup with the LXD dashboard software. Exit from the bash terminal and return to your LXD host server by using the command:

$ exit

Open a web browser and access the LXD dashboard by entering in the IP address of the instance. Use the lxc list command to view a list of the containers and their IP addresses on your LXD server.

Optional Port Forward Configuration

Port forwarding can be used to make the lxd-dashboard instance accessible to others computers outside of the server. The lxd-dashboard listens on port 80 for web traffic. In this how-to guide the host’s port 80 will be forwarded to the instance’s port 80. For more information on port forwarding view the how-to guide Forwarding host ports to LXD instances.

To create a new profile named proxy-port-80 use the following command:

$ lxc profile create proxy-port-80

To configure the profile to forward the port 80 from the host server to port 80 on the instance, use the following command:

$ lxc profile device add proxy-port-80 hostport80 proxy connect="tcp:127.0.0.1:8080" listen="tcp:0.0.0.0:80"

To apply the newly created profile to the lxd-dashboard instance and begin forwarding port 80 traffic to your instance run the following command:

$ lxc profile add lxd-dashboard proxy-port-80

Open a web browser and access the LXD dashboard by entering in the IP address of the host server.

Posted on Leave a comment

Version 1.2.8

A new version of the LXD Dashboard has been released adding minor new features. The changes include:

  • added edit and delete actions for storage volumes
  • added action to create new storage volumes, with form options for size and content_type

Posted on Leave a comment

Version 1.2.7

Version 1.2.7 has just now been released. This update is has minor changes that improve the software. The changes include:

  • fixed bug that caused new storage pools to default to size 30GB
  • improved list of disk devices displayed on instance page

Posted on Leave a comment

Version 1.2.6

Version 1.2.6 has just been released. Please pay attention to changes in the installation instructions when building the LXD dashboard in an LXC container, as a new directory /var/lxdware/backups will need to be created and have the permissions changed to all the www-data user write permisions.

Version 1.2.6 brings the following changes:

  • moved local exports of backups to /var/lxdware/backups
  • added compression algorithms options to creating backups
  • added instance_only and optimized_storage options to creating backups
  • modified backup export to provide a download link
  • improved code to reduce PHP notices in error log for undefined variables and arrays
  • added htmlentities() to a few echo statements that where missing it in the PHP code
Posted on Leave a comment

Version 1.2.5

Version 1.2.5 has just been released. This new version brings the following changes:

  • added ability to create an instance from JSON
  • added “instance type” option to replicate cloud instance types from AWS, Azure, and GCE
  • added edit action for configuration and device information of an instance
  • improved delete function of instance. If the instance is not found when deleting, redirect to instance list
  • improved list of cluster members when migrating to include none for non-clustered host
  • added an additional custom notification for updating instance
  • UI improvements to host and project nav menu
  • fixed displaying results from exec in instances within projects other than default
Posted on Leave a comment

Version 1.2.4

Version 1.2.4 has just now been released. Changes in this update include:

  • Fixed bug that did not allow for operations of projects other than default being displayed
  • Fixed bug in display items in projects other than default
  • Fixed bug in actions for instances in projects other than default
Posted on Leave a comment

Version 1.2.3

Version 1.2.3 of the LXD dashboard has just been released. This new release includes the following changes:

  • Added the IPv4 and IPv6 address of instances to the instance list. This give the list more details about the instances, aligning it close to the output of the “lxc list” command. The OS description has been replaced with OS name, giving the table more room for the changes.
  • Added the ability to publish an image from snapshots. This gives the user the ability to choose from any snapshots of an instance can publish that snapshot to an image that can be used to create additional instances.
  • Added both OS and Release options to publishing images from both an instance and snapshot
Posted on 9 Comments

Adding remote hosts in the LXD dashboard

Initial setup

When you first login to the LXD dashboard you will be redirected to the Remote LXD Hosts page. Here you can setup the parameters needed to connect to the LXD servers that you plan to manage.

Help instructions are available on the Remote LXD Hosts page and can be viewed by clicking the help icon located at the top right of the table.

Client Certificate

A client certificate is generated when you first setup the LXD dashboard and is used to securely connect to your LXD servers. Click the View Certificate link to display the certificate. Copy and paste the certificate information into a new file on your LXD server named lxdware.crt.

Import the certificate by running the lxc config trust add lxdware.crt command on your server. If your server was not setup to listen for incoming connections run the lxc config set core.https_address [::] command.

Adding your LXD Server

Now that your LXD server is listening for remote connections and trusts the LXD dasbhoard certificate it is time to add in the connection details of your LXD server. Click the Add Host link to display an entry form.

The Address field can be either an IP address or FQDN of your server. LXD uses port 8443 by default to connect remotely to hosts, however the Port field can be changed for your environment. The Alias field is just a friendly string to quickly identify and differentiate your server.

Hosts Table

Once your host has been added to the table, click the link provided in the Host column to start managing your LXD server. You are not limited to the number of hosts you wish to add.

Removing hosts can be completed by clicking on the delete icon in the table. This will remove your host connection information from the LXD dashboard database. If you are removing a host be sure to also remove the client certificate from your LXD server.

Posted on Leave a comment

Creating a Windows Server 2019 instance in LXD

With some of the more recent updates to LXD, it is becoming easier to run Windows as a virtual machine. This how-to guide will walk through the steps to get Windows Server 2019 up and running as an LXD virtual machine.

I will be using Ubuntu 20.04 as my desktop operating system, where I already have LXD installed and initialized. I will need to install the Remote Viewer application which will be used to connect to the VGA console of the Windows virtual machine. To install it use the following command:

$ sudo apt install virt-viewer

If you don’t already have an ISO file of the operating system, Microsoft allows users to download an evaluation copy of Windows Server 2019 . You will need a license key to use beyond the evaluation period. An ISO file needed for the virtual machine can be downloaded from https://www.microsoft.com/en-US/evalcenter/evaluate-windows-server-2019?filetype=ISO. The ISO filename was very long (17763.737.190906-2324.rs5_release_svc_refresh_SERVER_EVAL_x64FRE_en-us_1.iso) so for the sake of this how-to guide, I renamed it to Server2019.iso.

In many virtual environments, the Windows operating system needs to have virtio drivers installed during the installation process to detect hardware such as the hard drive. You will need a copy of these drivers. An ISO file of the virtio drivers can be downloaded from https://fedorapeople.org/groups/virt/virtio-win/direct-downloads/stable-virtio/virtio-win.iso. The current stable version at the time of this guide is virtio-win-0.1.185.iso.

Now that we have all the necessary components downloaded let’s create the virtual machine. We will create an empty instance named win2019 and set the instance type to virtual machine. To create the instance use the command:

$ lxc init win2019 --empty --vm

Before we start the virtual machine, there are special configurations that need to be setup such as booting from the downloaded ISO files as well as allocating CPU, RAM, and disk space. We will achieve this by creating two profiles that will be attached to the virtual machine.

The first profile will set the necessary hardware resources required to run Windows. This can be adjusted for your environment. We will call this profile windows-required and configure the profile to use 2 CPUs, 4GB or memory, and 30GB of hard disk space. We will also need to turn secure boot off. For additional help on creating profiles see the guide Setting instance CPU and memory limits. To create the profile and add the necessary configurations use the following commands:

$ lxc profile create windows-required

 $ lxc profile set windows-required limits.cpu=2 limits.memory=4GB security.secureboot=false

 $ lxc profile device add windows-required root disk path=/ pool=default size=30GB

The second profile is designed to be removed once Windows is installed. This profile will contain the filepaths for the ISO images downloaded earlier. These filepaths will need to be adjusted for your environment, but will server a reference. We will also need to allow LXD read, write, and lock (rwk) access to our download location through apparmor. To create the profile and add both the Server2019.iso and virtio-win-0.1.185.iso files use the following commands:

$ lxc profile create windows-installation

 $ lxc profile set windows-installation raw.qemu="-drive file=/home/matthew/Downloads/Server2019.iso,index=0,media=cdrom,if=ide -drive file=/home/matthew/Downloads/virtio-win-0.1.185.iso,index=1,media=cdrom,if=ide"

 $ lxc profile set windows-installation raw.apparmor="/home/matthew/Downloads/** rwk,"

Both the windows-required and windows-installation profiles can now be added to the win2019 virtual machine. To add both profiles use the following commands:

$ lxc profile add win2019 windows-required
 $ lxc profile add win2019 windows-installation

Now it is time to start the virtual machine using the console option and bring up the boot menu to select the Windows ISO file as the boot device. This part can be a little tricky as you will need to press the Esc key immediately as the instance starts, similar to how you would get into the CMOS settings of a computer. Use the following command to start the virtual machine with a console:

$ lxc start win2019 --console
(Press Esc key after running command)

Select Boot Manager from the menu and then UEFI QEMU DVD-ROM QM00001 to boot. You may see the Windows “Press any key to boot from CD…” appear or it may just be a blank screen, either way press Enter a few times to begin the installation process. It will appear as those the screen has frozen, we now need to exit the console so that we can open up a new VGA console. To exit, press both the Ctrl and a keys together, then after that press the q key (Ctrl+a-q) to release the console.

The next step is to setup a VGA console connection to the virtual machine. If the Remote Viewer (virt-viewer) application is installed it should automatically open after running the lxc console command. If the application doesn’t start a spice+unix URI will be returned that can be entered into the Remote Viewer application to connect. To open a VGA console use the following command:

$ lxc console win2019 --type=vga

Click through the first few setup prompts until you get to the “Where do you want to install Windows” screen. Click the Load driver option, expand CD Drive (E:) virtio-win-0.1.185 and select E:\vioscsi\2k19\amd64. You should now see a disk drive to install the operating system on. You can also choose to install the network driver now or after login. If you choose to install the driver now, repeat the Load driver process and select E:\NetKVM\2k19\amd64.

Continue the installation process. If the disk drive is offline, click the”Windows can’t be installed on this drive” link to turn it online. When the operating system reboots you will need to reconnect to the VGA console (The screen will appear frozen). It will more than likely reboot once or twice during the installation process.

After you have logged in, finish installing the remaining virtio drivers by opening up the E:\drive and running the virtio-win-gt-x64 install package. Be sure to configure a remote connection option such as RDP or Powershell

When finished setting Windows up, power off the virtual machine and remove the windows-installation profile as it is no longer needed. To remove the profile from the virtual machine use the following command:

$ lxc stop win2019
 $ lxc profile remove win2019 windows-installation

Start the win2019 instance up and test to verify that you can connect to it’s IP address either through RDP or Powershell.

$ lxc start win2019

If you plan to use this virtual machine to spawn additional virtual machines be sure to run the Windows sysprep tool and then you can either use LXD to publish the virtual machine or copy it to a new instance.